Hammocks are tested to hold up to 400-600 pounds safely. Typically, the strength of the location you hang the hammock will be weaker than the hammock itself. Please be careful hanging the hammock that your weight will be supported!


The most critical safety factors when rigging:
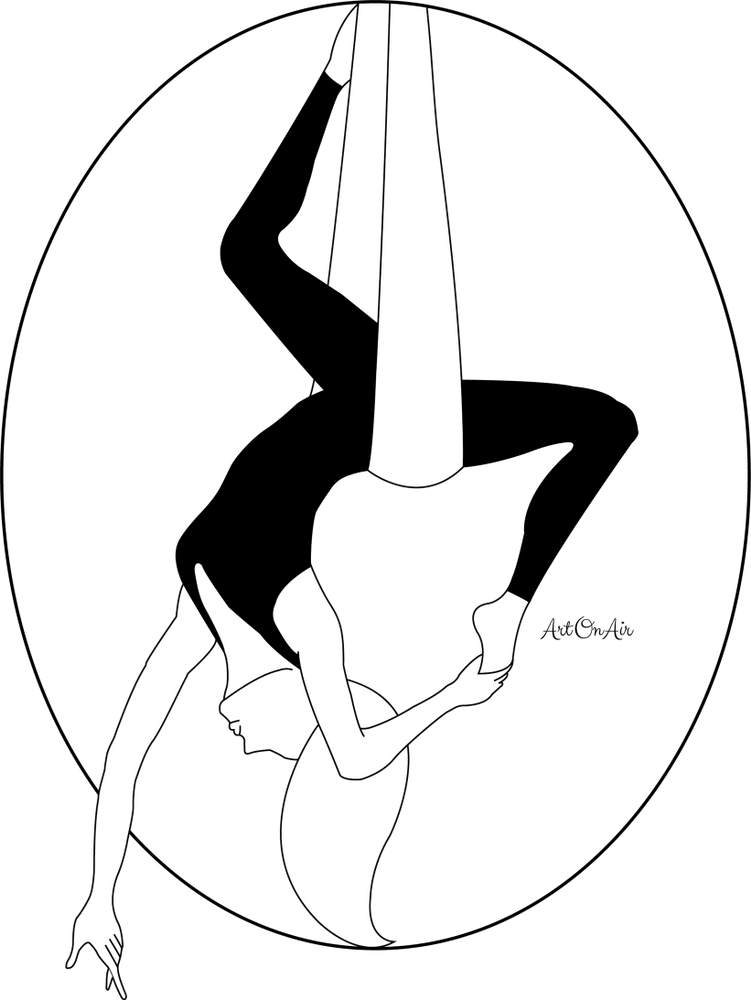
1. Make sure that your rigging points (so, whatever you're attaching your hammock to) are able to support a dynamic load (your swinging weight, which can be several times your static weight.) We LOVE inversions at Flight Room and we want you safe when we're upside down!
2. Any installation into your ceiling should be completed by a professional to ensure safety.
Where should I NOT hang my new hammock?
While we LOVE practicing outside, we don't recommend rigging from a tree. It's hard to determine how much weight a branch can hold, even if it looks super sturdy.
